Want to create amazing videos without needing professional gear or editing experience? CapCut Desktop Video Editor is your best friend. Whether you’re editing vlogs, school projects, tutorials, or social media clips, CapCut makes the process smooth, fun, and creative.
In this article, we’ll walk you through the powerful features such as Voice Changer and Text to Speech that CapCut offers on desktops. You’ll also learn a simple guide to creating stunning, stand-out videos.
Why Choose CapCut Desktop Video Editor?
CapCut Desktop Video Editor is a free, full-featured video editor that balances professional tools with beginner-friendly design. Here’s why many users love it:
- Drag-and-drop interface
- It makes video creation intuitive, even for beginners.
- Advanced features
- Tools like AI auto-captions, filters, Text to Speech, transitions, and audio editing are just a click away.
- No watermark on exports
Enjoy polished, professional-looking videos without unwanted branding even with the free version.
- AI-powered efficiency
Speed up your workflow with smart features like background remover, facial recognition, and auto-beat sync.
- High-quality exports
Supports up to 4K resolution and frame rate customization, ensuring your content looks sharp on any platform.
- Built-in templates and assets
Access a rich library of effects, stickers, music, and video templates to boost creativity with minimal effort.
Seamless social media integration
- Export directly in formats optimized for TikTok, YouTube, Instagram, and more.
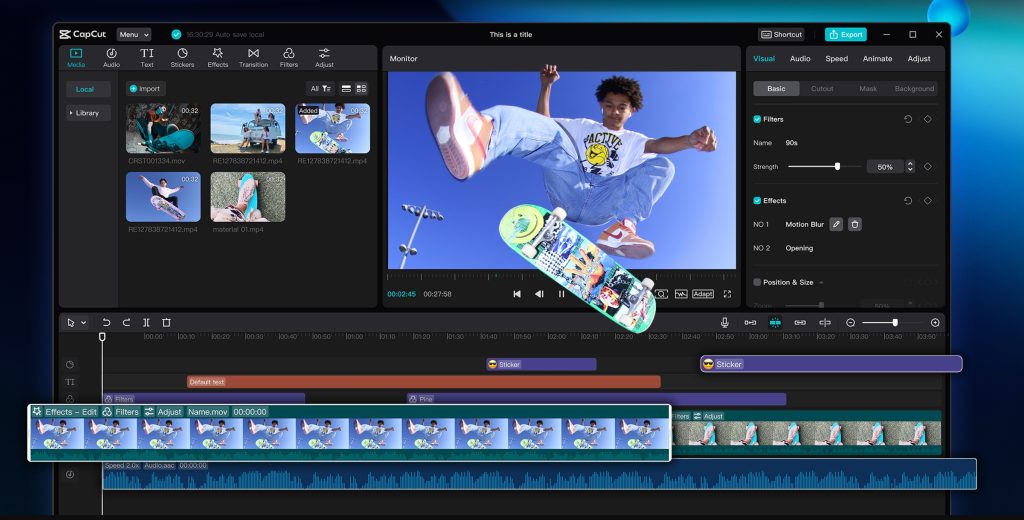
CapCut’s Key Features
Key features that make videos pop; here’s a breakdown of CapCut’s top desktop tools and how they help you:
1. Auto-Captions and Text Tools
CapCut can automatically generate captions using AI. You don’t have to type everything out, which saves time, especially for YouTube or educational videos. Use the Text tab to:
- Add dynamic titles
- Create subtitles manually or automatically
- Customize fonts, colors, and animations
2. Transitions and Effects
CapCut has many built-in video transitions, like fade, zoom, slide, and glitch, which help scenes flow smoothly. Add video effects like camera shake, dreamy blur, or retro looks to match your content’s mood. You can also layer multiple effects for a more cinematic vibe.
3. Filters and Color Grading
Use filters to instantly change your video’s tone. Want a warm, sunny look, or cool cyberpunk feel? CapCut has you covered.
For more control, use the Color Adjust feature to tweak:
- Brightness
- Contrast
- Saturation
- Temperature
- Shadows and highlights
4. Audio Editing
CapCut lets you cut, fade, and fine-tune audio easily. You can also:
- Use the Voice Changer to create funny or dramatic voiceovers.
- Add background music from CapCut’s free library.
- Remove background noise using AI tools.
5. AI Tools
CapCut includes several smart tools powered by AI:
- AI Video Generator: Create a short video just from text prompts.
- Background Remover: Automatically delete the background, no green screen needed.
- Text-to-Speech: Turn typed text into natural-sounding voiceovers.
These tools speed up editing and open creative options, even for beginners.
3-Step Guide: How to Use CapCut Desktop to Make Stunning Videos
Now that you know what CapCut offers, let’s walk through a simple 3-step process to turn raw footage into a polished video.
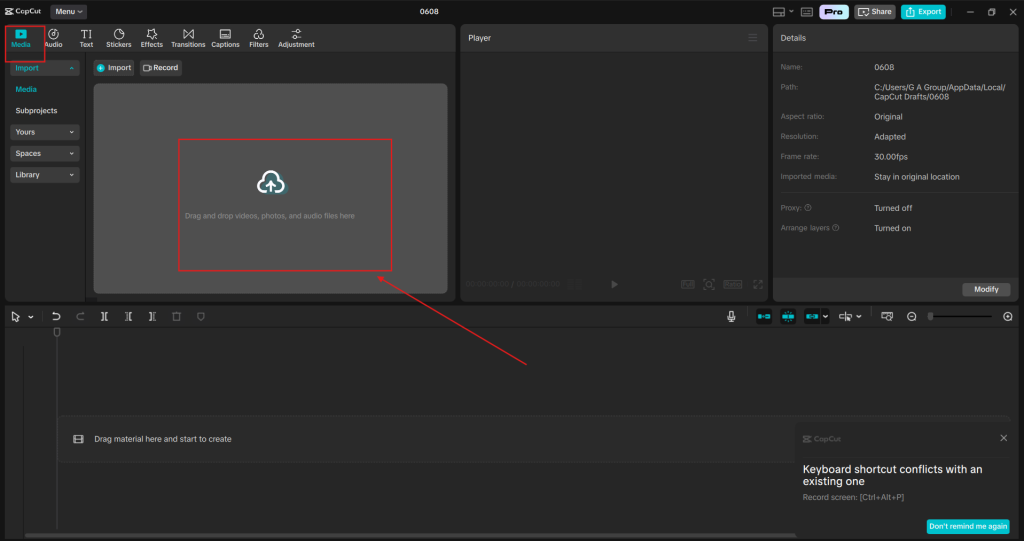
Step 1: Import and Arrange Your Media
Open CapCut Desktop Video Editor. Click New Project. Drag and drop your clips, images, or audio files into the media bin. Add them to the timeline in the order you want. Trim, split, or rearrange clips to clean up your rough cut. Use the “Split” tool to cut out awkward parts. Use Zoom Timeline to get better control over clip placement.
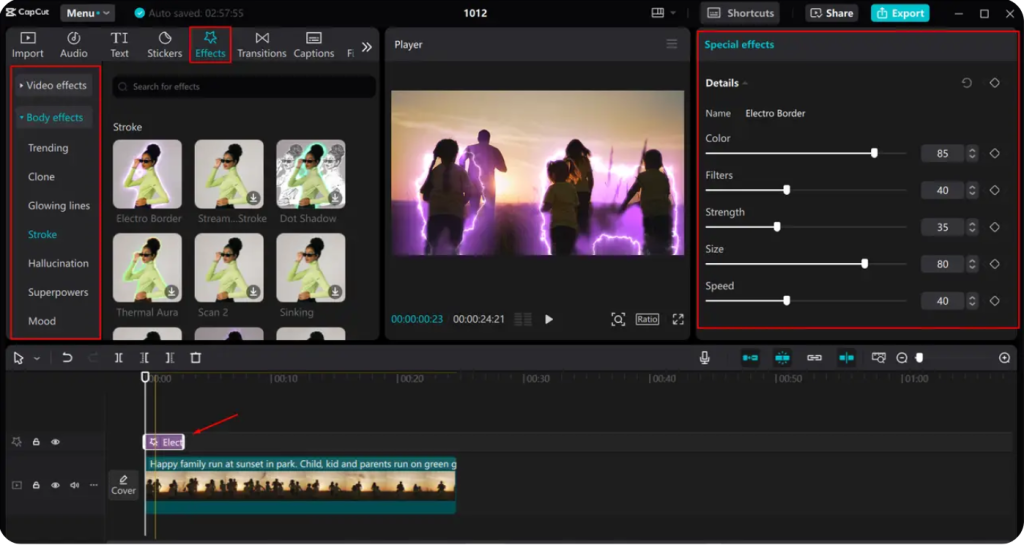
Step 2: Add Effects, Captions, and Music
Click the Text tab to add titles and captions, or use auto-captions. Choose your preferred filter or color grade under the Adjustment tab. Add transitions between clips by dragging them from the Effects tab. Add music by going to the Audio tab and selecting from CapCut’s free library. Use the Voice Changer to tweak voiceovers if needed. Match your video’s beat with CapCut’s Beat Detection feature. It helps sync cuts and effects with music for a professional touch.
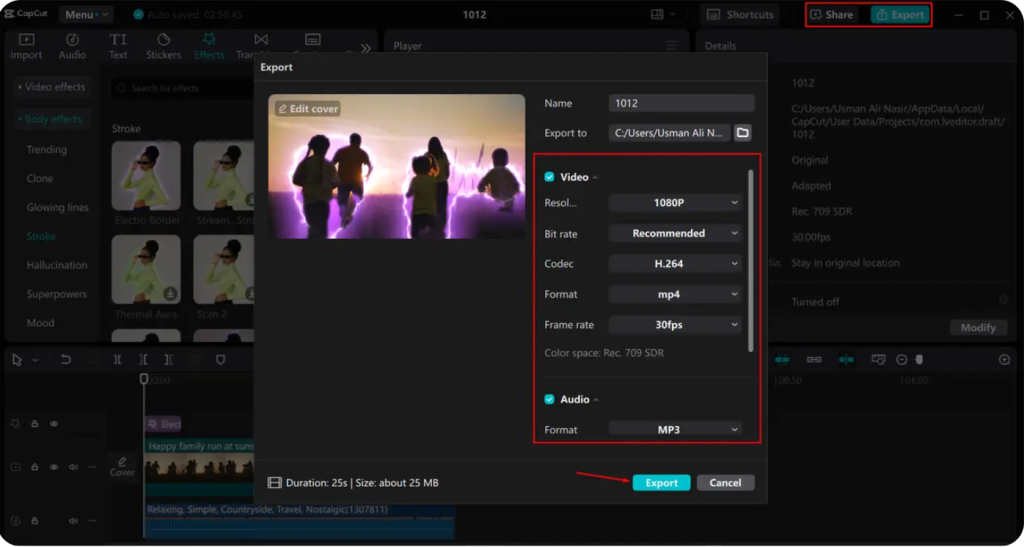
Step 3: Final Touches and Export
Preview your full video in the preview window. Make final adjustments to audio levels, text size, or clip timing. Click Export in the top right corner. Choose your resolution (1080p is great for most users). Save your file, and you’re done! Upload directly to TikTok, YouTube, or other platforms from within CapCut.
Bonus Tips for Stunning Results
- Keep it short and engaging: Aim for under 60 seconds for social media.
- Use storytelling: Make sure your video has a beginning, middle, and end.
- Add motion graphics: Use animated stickers or text to boost visuals.
- Test different styles: CapCut has templates to help you try new looks.
- Use the AI Video Generator to create short promos or intros quickly.
Conclusion
CapCut Desktop Video Editor combines powerful tools with an easy-to-use layout, perfect for beginners, students, creators, and marketers alike. You don’t need a degree in video editing to produce high-quality content.
With smart tools like auto-captions, voice changers, and AI effects, CapCut helps you make professional-looking videos with just a few clicks. Follow the three-step guide above, and you’ll be well on your way to creating content that looks polished and feels engaging.
So, open CapCut Desktop today and start editing your next video masterpiece!